

There is more than one way to utilize Telestream’s Episode product. For instance, it is possible to create “drop folders” on your Desktop to function as an inbox for files that need to be transcoded into one or more different formats. Once Episode sees a new file in the drop folder, it starts one or more transcoding jobs on that file, which will then deliver new files to a different folder upon completion.
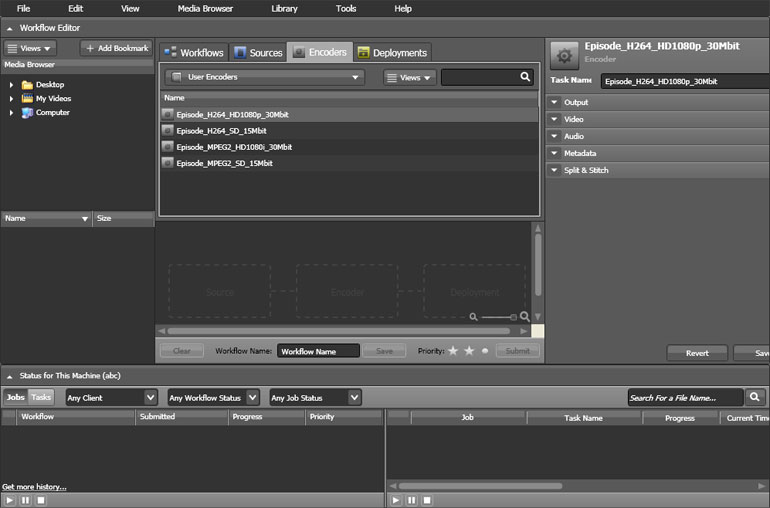
In this article we will only take a look at their main graphical interface, which looks like the image shown below. At the center area there are three empty containers called “Source” (left-side), “Encoder” (middle), and “Deployment” (right-side).
One quick way to get started is to drag your source media file (the file you have produced using your non-linear editor) from the Desktop into the “Source” container within the Episode application.
Next, choose an available encoder from the list in the “Encoders” tab (top, middle section) and drag it into the “Encoder” container. Encoders are actually group of settings that tell Episode the format specifications of your output media file. For your convenience, we are providing a few sample settings files along with this article which can be saved to your Desktop and dragged into Episode (these settings will then be added to the list of available encoders in the Encoders” tab).
Lastly, choose a destination from the “Deployment” tab (top, middle) and drag it into the “Deployment” container. Here we have chosen to output to the Desktop, but you may choose to output to a different folder on your computer or to a remote location inside or outside your network.
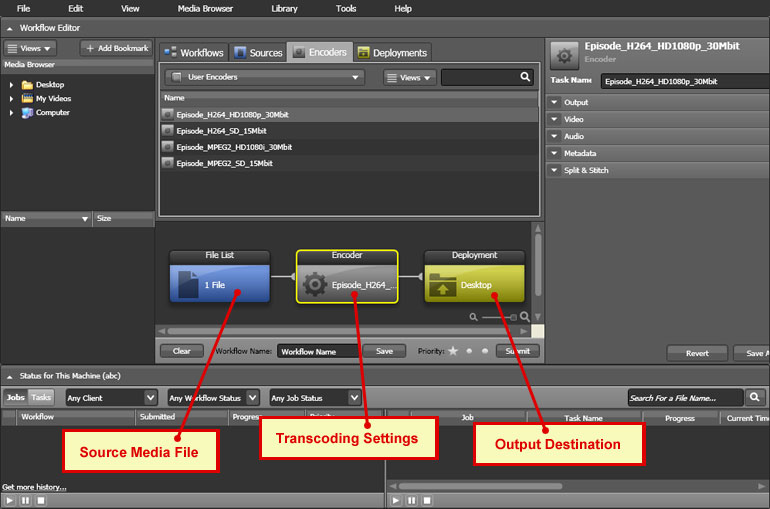
Once you have assigned a source, an encoder, and a deployment to your task, you may click on the “Submit” button and your file will be exported using the selected encoder settings.